Controllo qualità
We offer manual quality control machines or machines to be placed inside a production line. We perform:
- Porosity control
- Flatness control
- 2D dimensional control
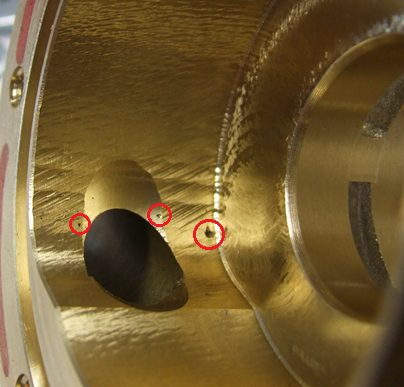
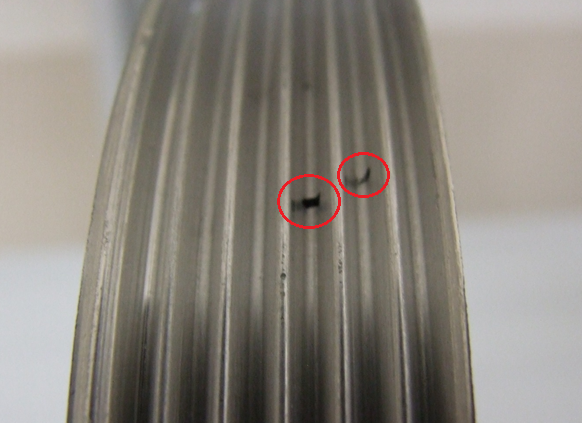
The system allows an analysis of the entire surface of each piece in order to identify porosity on the mechanically machined surfaces.
The lighting system is studied ad hoc to allow a correct identification of porosities avoiding the interference of ambient light.
After the image acquisition it is possible to use a series of filters that allow a manipulation of the image in order to improve its quality for a more correct identification of defects.
Example 1: Applying filters
|
Unfiltered image |
Filtered image |
The recognition of porosity is based on the analysis of color spots, which allows the identification of porosities having completely variable shape and size. In the system it is possible to set physical constraints on the porosity dimensions in order to classify the analyzed part as good or waste.
Example 2: Parameter configuration
The system is able to identify several porosities at the same time, providing information relating to each element found.
Example 4: Search for multiple porosities
|
Real picture
|
Porosity recognition |
Example 7: Identification of impurities with aluminum
|
Real picture |
Porosity recognition |
By using a calibrated camera it is possible to set the dimensional constraints directly in mm instead of pixels, thus favoring the use of the system by the operator.
Example 1: Measurements

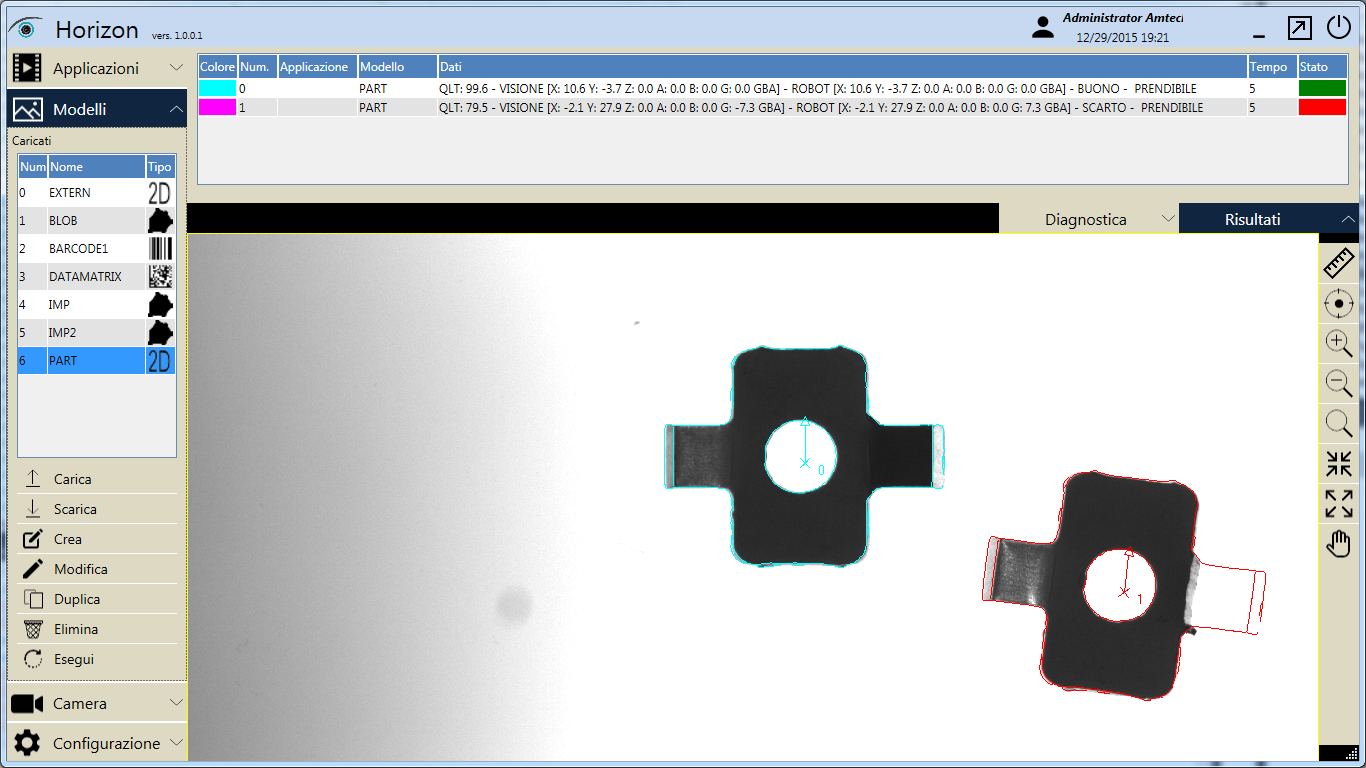
Example 2: Completeness control
In this example, the 2D profile reconstruction model is used to check the completeness of the parts. By exploiting the value of the quality index it is possible to discriminate between good and waste pieces.


